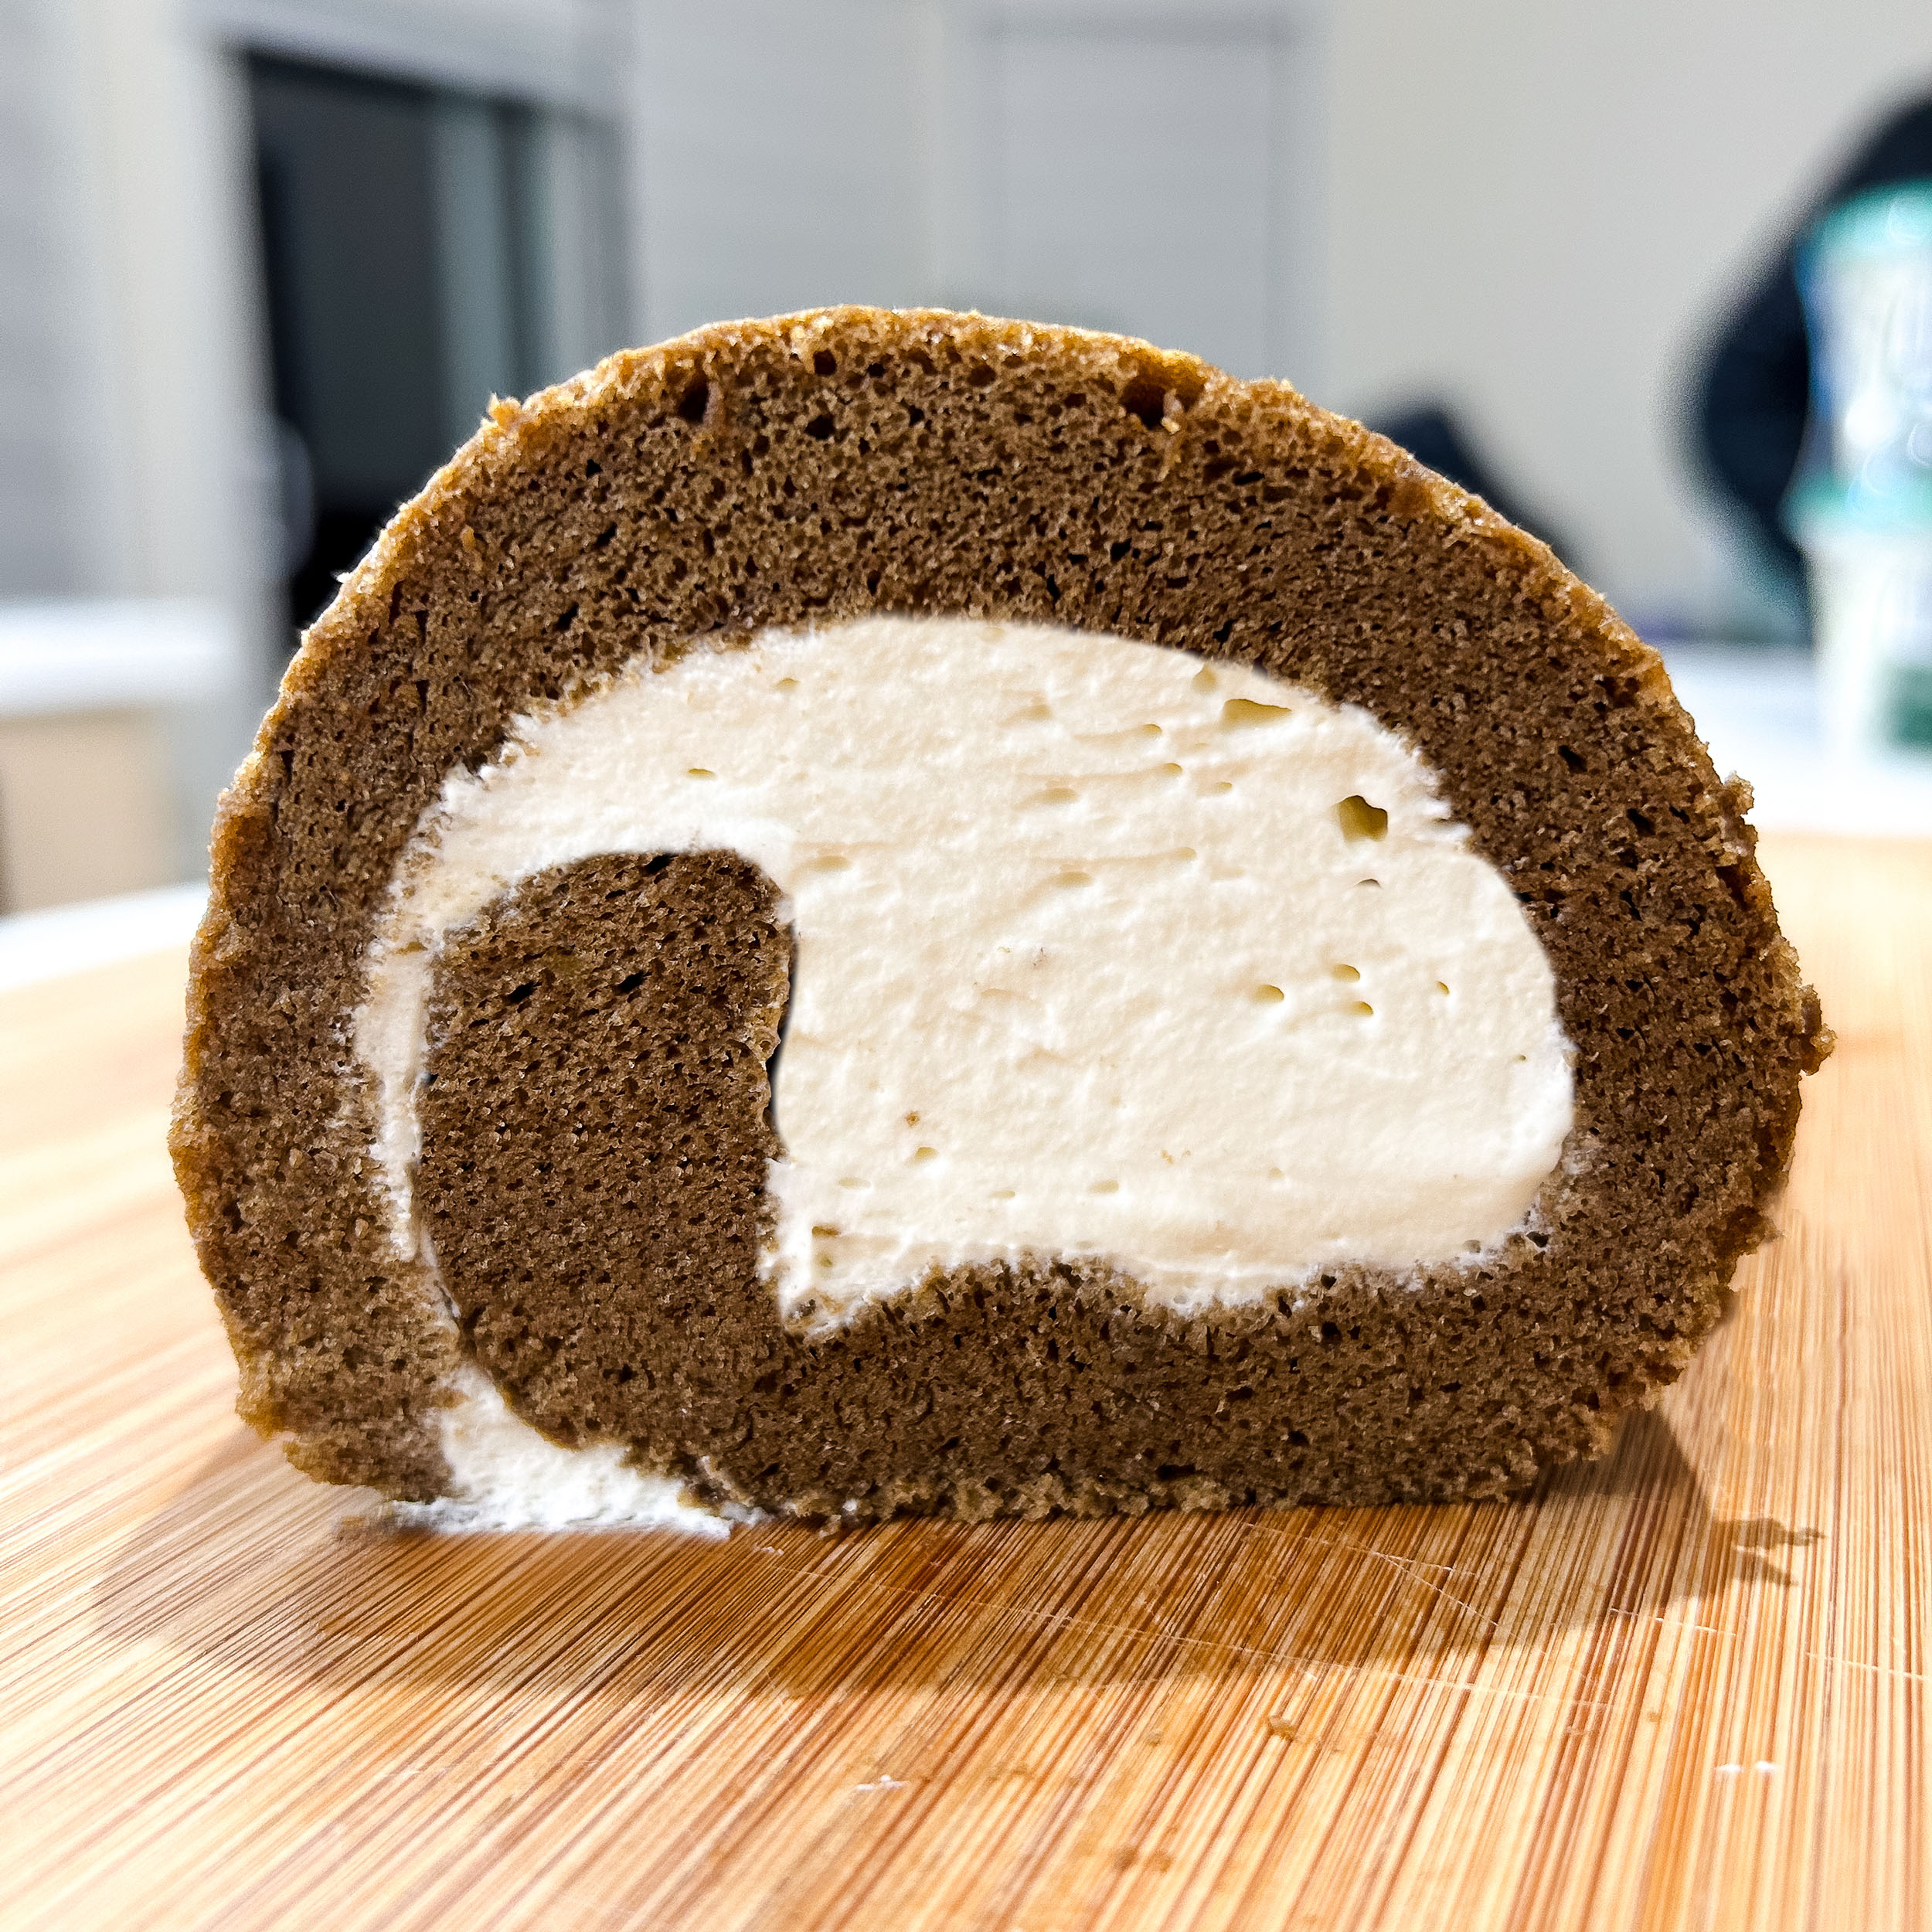
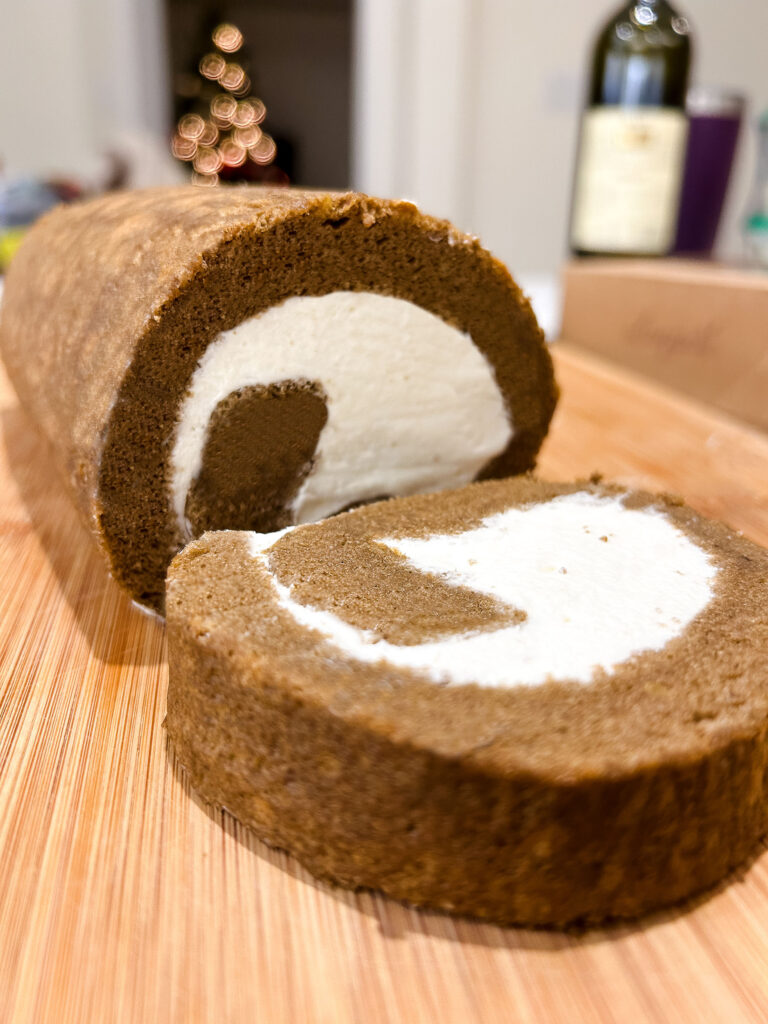
Diving into the world of Japanese desserts, today we are making a Hojicha Cake Roll. This dessert combines the rich, roasted flavour of hojicha—a roasted green tea—with the light, airy texture of a classic sponge cake, rolled with a cream filling.
A Japanese cake roll, or "roll cake" as it's often called in Japan,
is known for its soft, fluffy texture. What sets the hojicha cake roll apart is its use of hojicha powder, which infuses the cake with a distinctive, earthy taste and a hint of sweet smokiness. The rolling technique involved not only creates a visually appealing spiral but also ensures every bite is a perfect mix of cake and cream. 🤤
Ingredients for Japanese Hojicha Cake Rolls
Egg yolks & granulated sugar: Create a rich base for the cake, adding moisture and structure. Vanilla extract: Enhances the cake’s flavour profile, complementing the hojicha.
Vegetable oil & milk: Keep the sponge moist and tender. You can use skim or whole milk.
Salt: Balances the sweetness and brings out the hojicha flavour.
Cake flour: Ensures the cake’s soft, delicate texture.
Baking powder: A leavening agent that helps the cake rise.
Hojicha powder: The star ingredient, it is made from finely ground roasted green tea leaves, with a unique flavour profile that’s both earthy, sweet and slightly smoky. I got mine as a gift from Tao Tea Leaf – a tea shop in Toronto. But you can grab it from Amazon as well!
Egg whites & lemon juice: Beaten to stiff peaks to incorporate air, making the sponge light and fluffy.
Whipping cream & sugar: Whipped to stiff peaks for a creamy, sweet filling that complements the hojicha sponge..
Why you'll love this Japanese Hojicha Cake Roll
It has a delicious tea flavour. The hojicha has a toasty, sweet taste that’s like matcha’s smokey cousin!
It’s light and fluffy. This cake is airy and soft and with the texture of the cream, it’s like a hojicha latte!
It has a smooth light cream. The cream compliments the cake so well! You can also add in your own flavours and even some fruits.
Tips and tricks
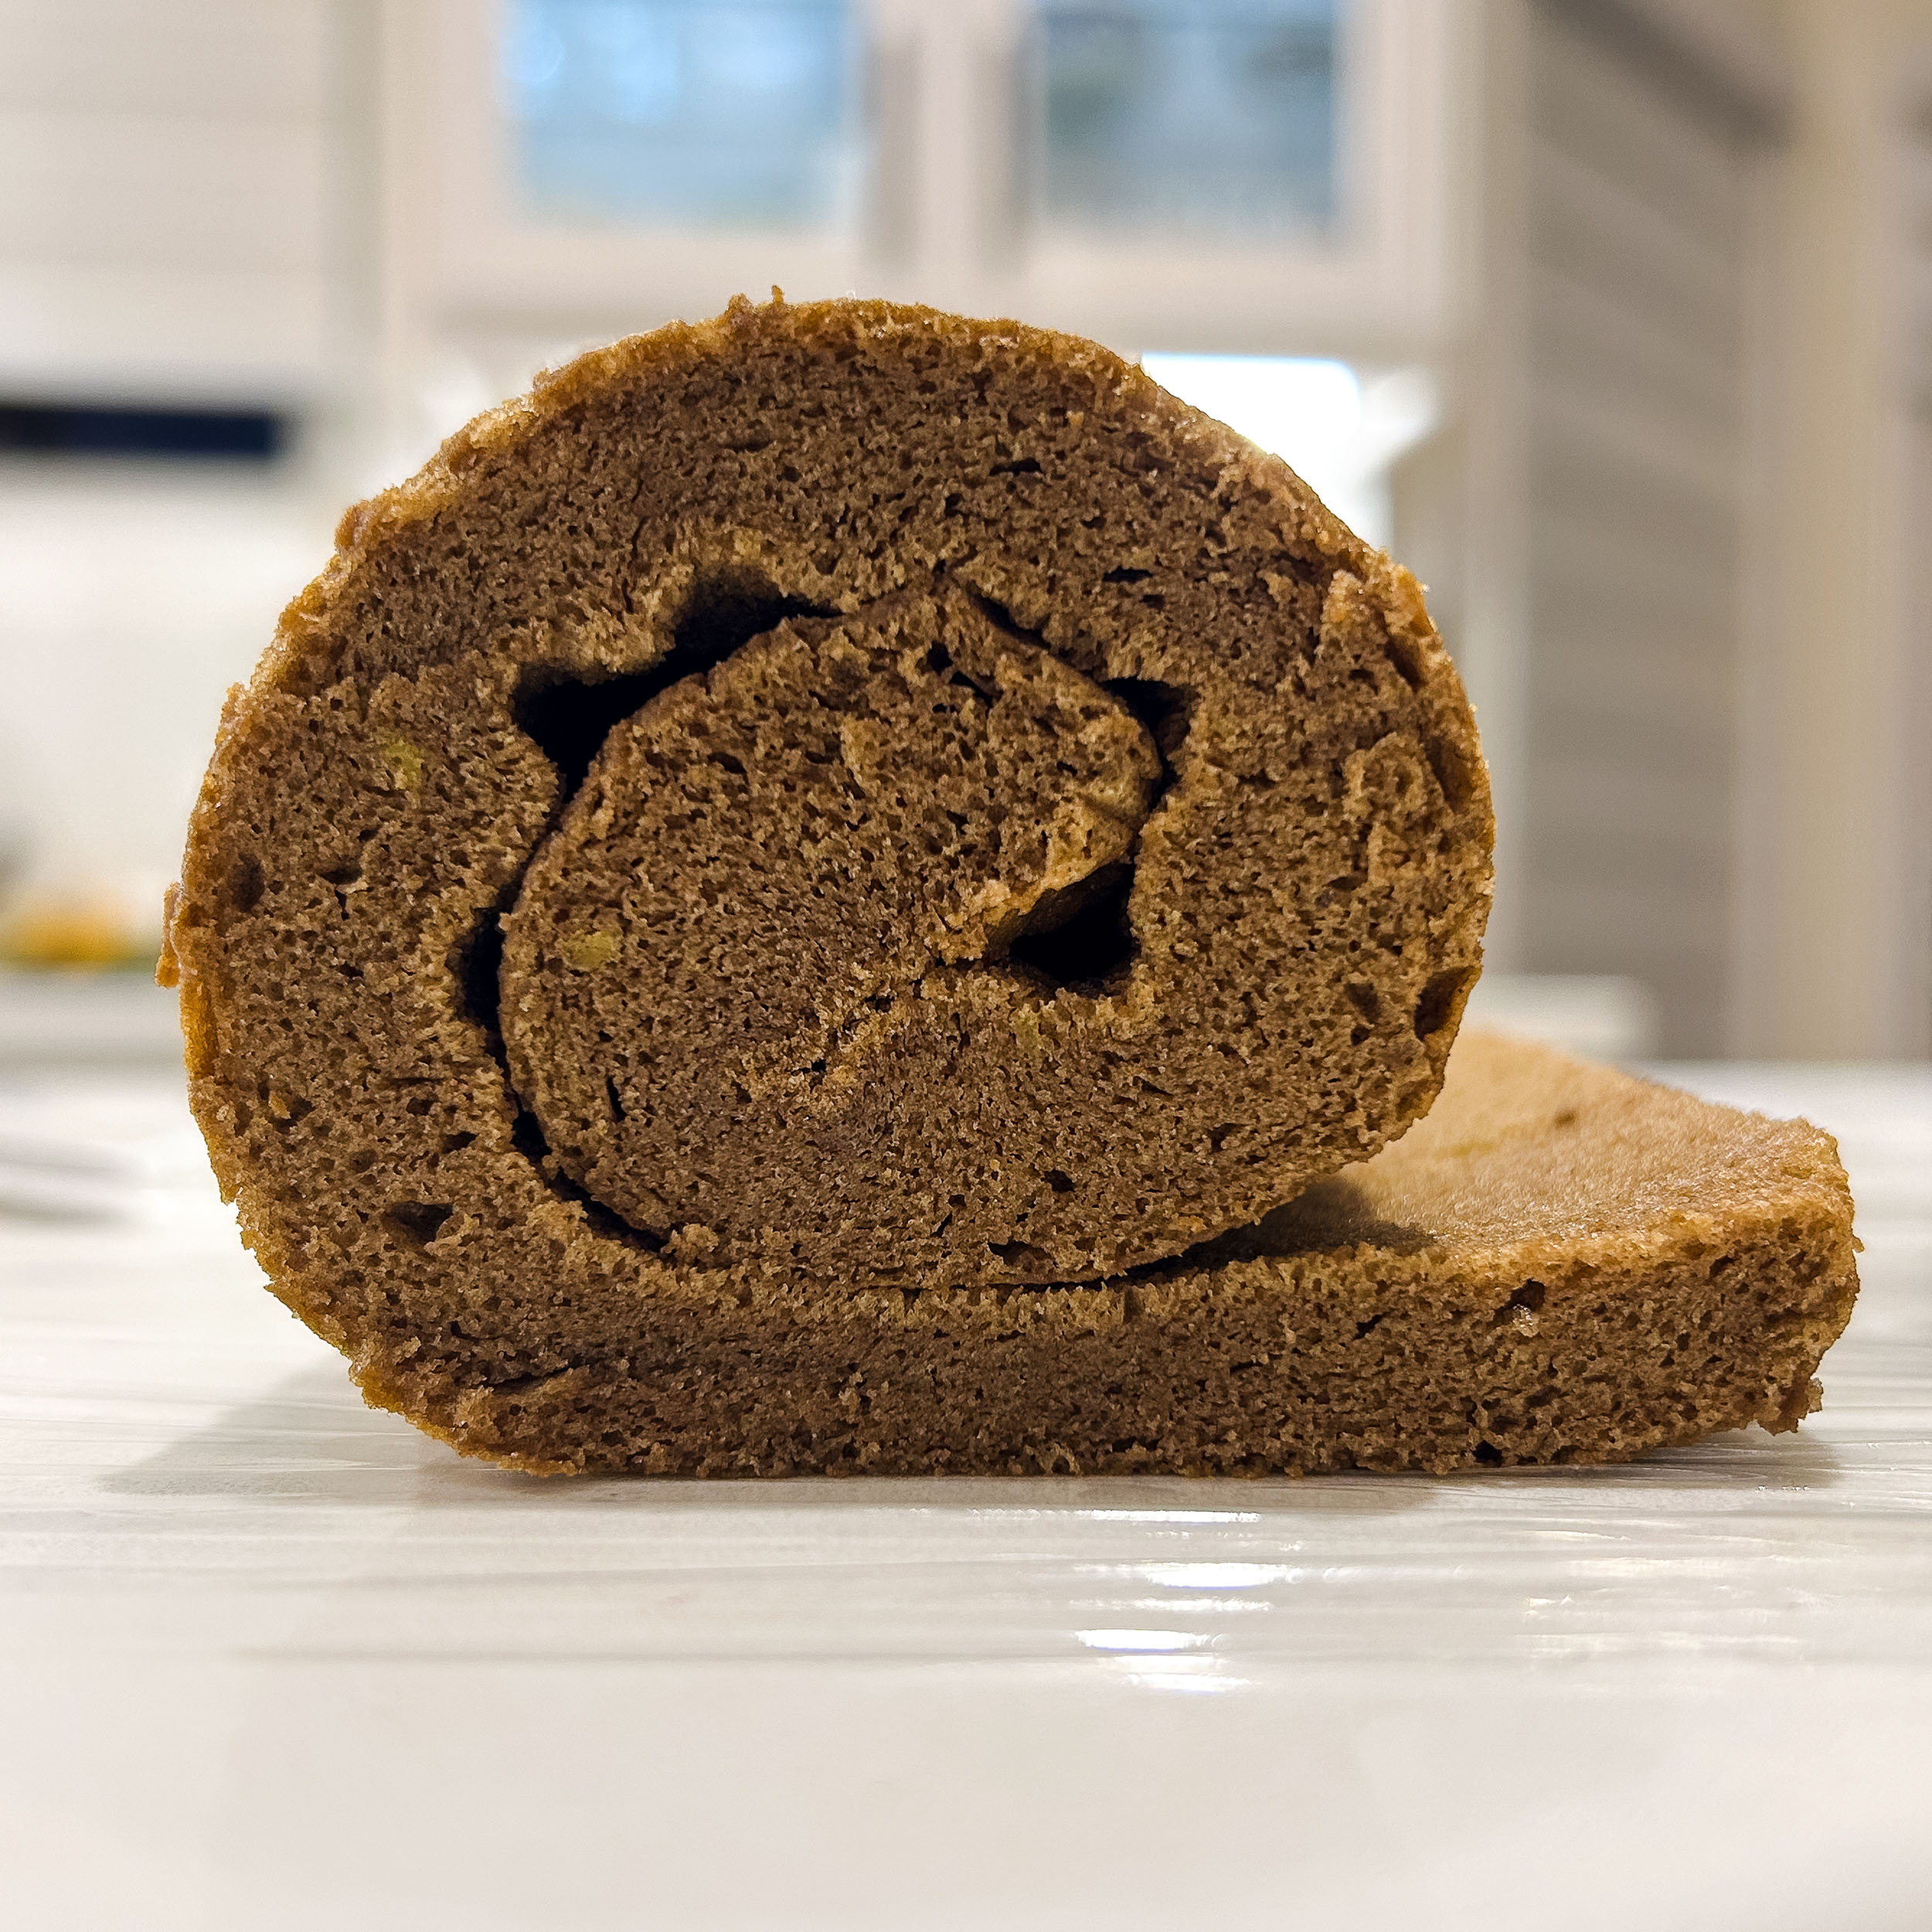
Wait for the cake to cool completely. Don’t rush the cooling process; a completely cooled cake is much easier to handle and less likely to break.
Be sure to sift in the dry ingredients. This ensures there are no lumps in the batter and helps incorporate air for a lighter cake.
Go slow when rolling the cake. Rolling the cake might seem overwhelming, but with a gentle touch and a bit of patience, you’ll achieve a beautiful spiral!
For this Japanese Hojicha Cake Roll, I use a basic 9×13 inch baking sheet (I like this one). I also recommend using a hand or stand mixer (stand mixers go on sale often so I’d wait until then 😉) to speed up the prep time and for creaming the butter and sugars. For videos and baking inspiration, check out my Instagram or TikTok!
Japanese Hojicha Cake roll
5 Stars 4 Stars 3 Stars 2 Stars 1 Star
No reviews
- Author: Christina
- Total Time: 2 hours 12 minutes
- Yield: 8 1x
Description
Ingredients
Cake
- 4 large egg yolks room temperature
- 1/2 cup granulated sugar
- 1/2 teaspoon salt
- 1/2 teaspoon vanilla extract
- 1/4 cup neutral oil
- 3 tablespoon whole milk
- 1/2 cup cake flour
- 1/2 teaspoon baking powder
- 2 tablespoon hojicha powder
- 4 large egg whites room temp
- 1/4 teaspoon lemon juice or cream of tartar
Cream
- 1 1/4 cup heavy cream
- 1 tsp vanilla
- 4 tbsp sugar
Instructions
Cake
-
Preheat oven to 350°F (175°C) and line a 9×13″ baking tray with parchment paper.
-
In a large bowl, mix in the egg yolks, half of the sugar (1/4 cup/50g), salt, vanilla extract, oil and milk.
-
Sift in cake flour, baking powder and hojicha powder and mix until just combined (keep an eye out for flour pockets).
-
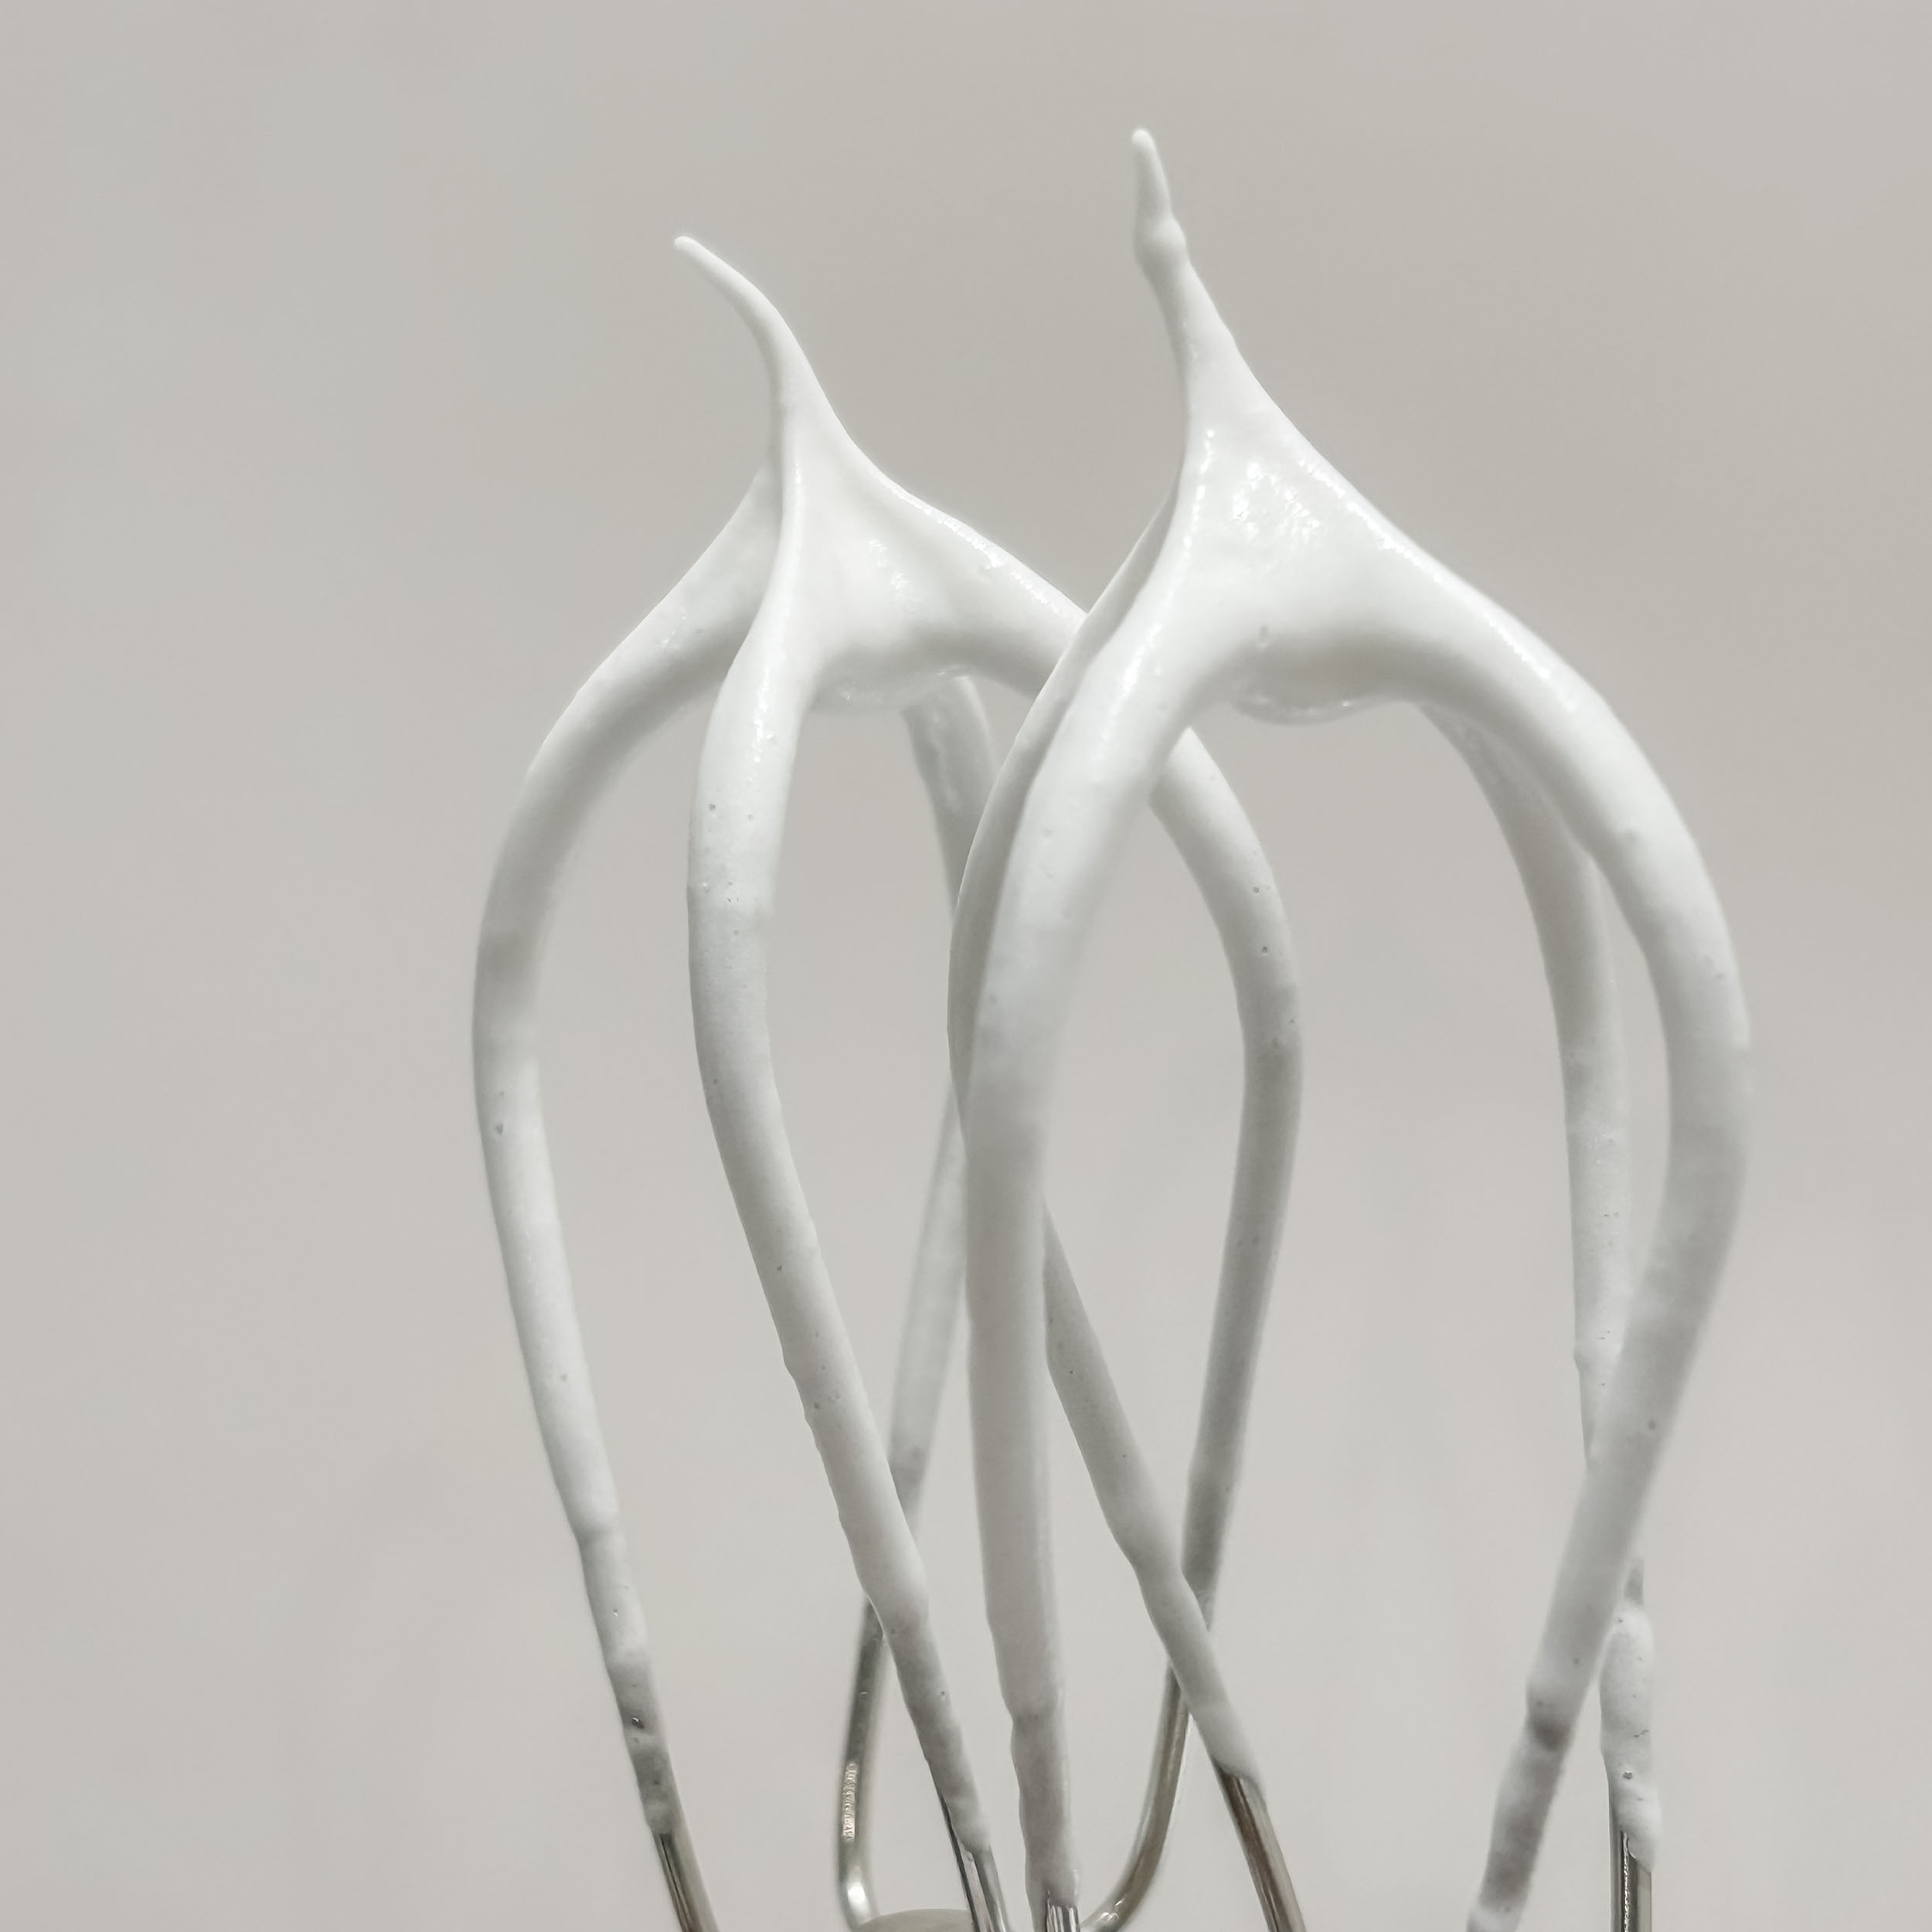
In a medium bowl, beat the egg whites until frothy. Add the lemon juice. Continue beating and slowly add the other half of the sugar (1/4 cup/50g) until stiff peaks.
-
Using a spatula, gently fold in 1/3 of the egg white meringue into the egg yolk bowl (fold in a “J” shape while scraping the sides of the bowl. be sure to not deflate all the air from the batter). Repeat two more times with the remaining 2/3 of the meringue.
-
Pour the batter into the baking tray, spread batter evenly and flat into the corners. Drop the tray on your counter a couple times to release any big air bubbles.
-
Bake for 15 minutes or until a toothpick inserted in the center comes out clean.
-
Immediately flip the baked cake sheet onto a large damp kitchen towel (larger than the short side of the sheet). Gently remove the parchment paper.
-
Starting from the short side of the cake, tightly roll the cake with the kitchen towel. (Not too tight or quickly, this could crack the cake!) Let the cake cool completely in the towel with the cake seam side down.
Cream
-
In a medium bowl or electric stand mixer with the whisk attachment, beat together whipping cream, vanilla extract and sugar until stiff peaks.
Assembly
-
Unravel the cake from the kitchen towel and transfer onto plastic wrap longer than the length of the cake. Cut off 1/2 inch from the ends of the roll.
-
Evenly spread the cream onto the cake sheet leaving a 1 inch margin at the short end of the roll
-
Roll the cake sheet towards the empty margin, once completely rolled and the seam is facing down, bring the parchment over to cover the roll completely.
-
Use a bench scraper (anything thin and sturdy, a ruler will do) and push the parchment toward the bottom of the roll creating a tight and secure parchment wrap.
-
Secure the wrap with tape and store in the fridge for 1 hour before serving.
- Prep Time: 2 hours
- Cook Time: 12 minutes
- Category: Cake

Leave a Reply